How to create a selfie app with two lines of code

3, 2, 1 Go!
Last time I introduced myself and closed the blog post leaving you with 3 simple tasks:
- Download Creo free trial
- Read something about Creo development environment
- Read something about the Gravity language
Now we are ready to create our first iOS application, and it's a simple but useful app to take selfies. As a plus, we are going to add a spectacular Comic Effect.
When we think about building such an application with no iOS development skills, we all know that is not a trivial task. Where do we start?
We have at least 3 main areas to address:
- How to design the application UI
- How to access the iPhone camera
- How to save pictures on the iPhone's camera roll.
If you downloaded and installed Creo from Creolabs website, you should be able to run it from the Application folder on your Mac.
If you didn't, please do it now. My Creo version is 2.1.5, but you might have a newer one. If your version number is older than mine, please update Creo before reading any further.
Create a new empty project
Choose New Project from the Wizard
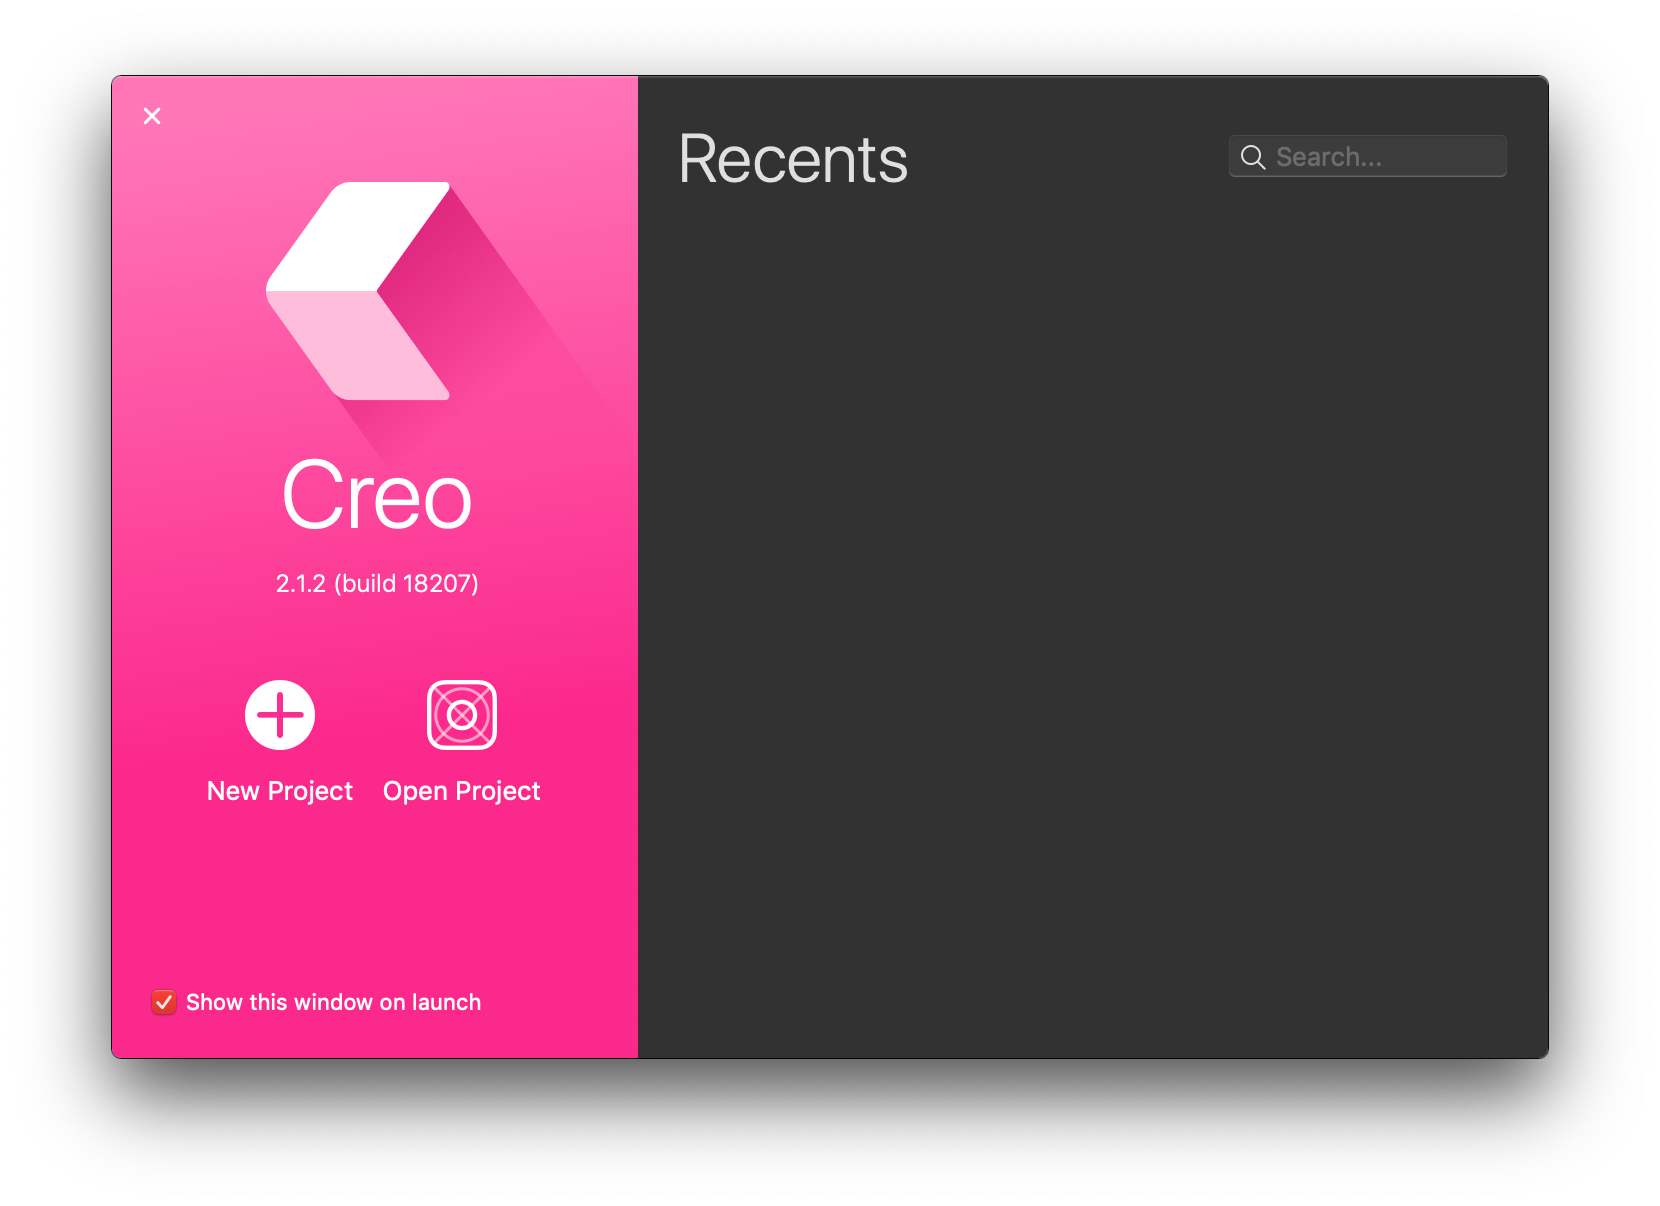
Creo creates for you an empty project.
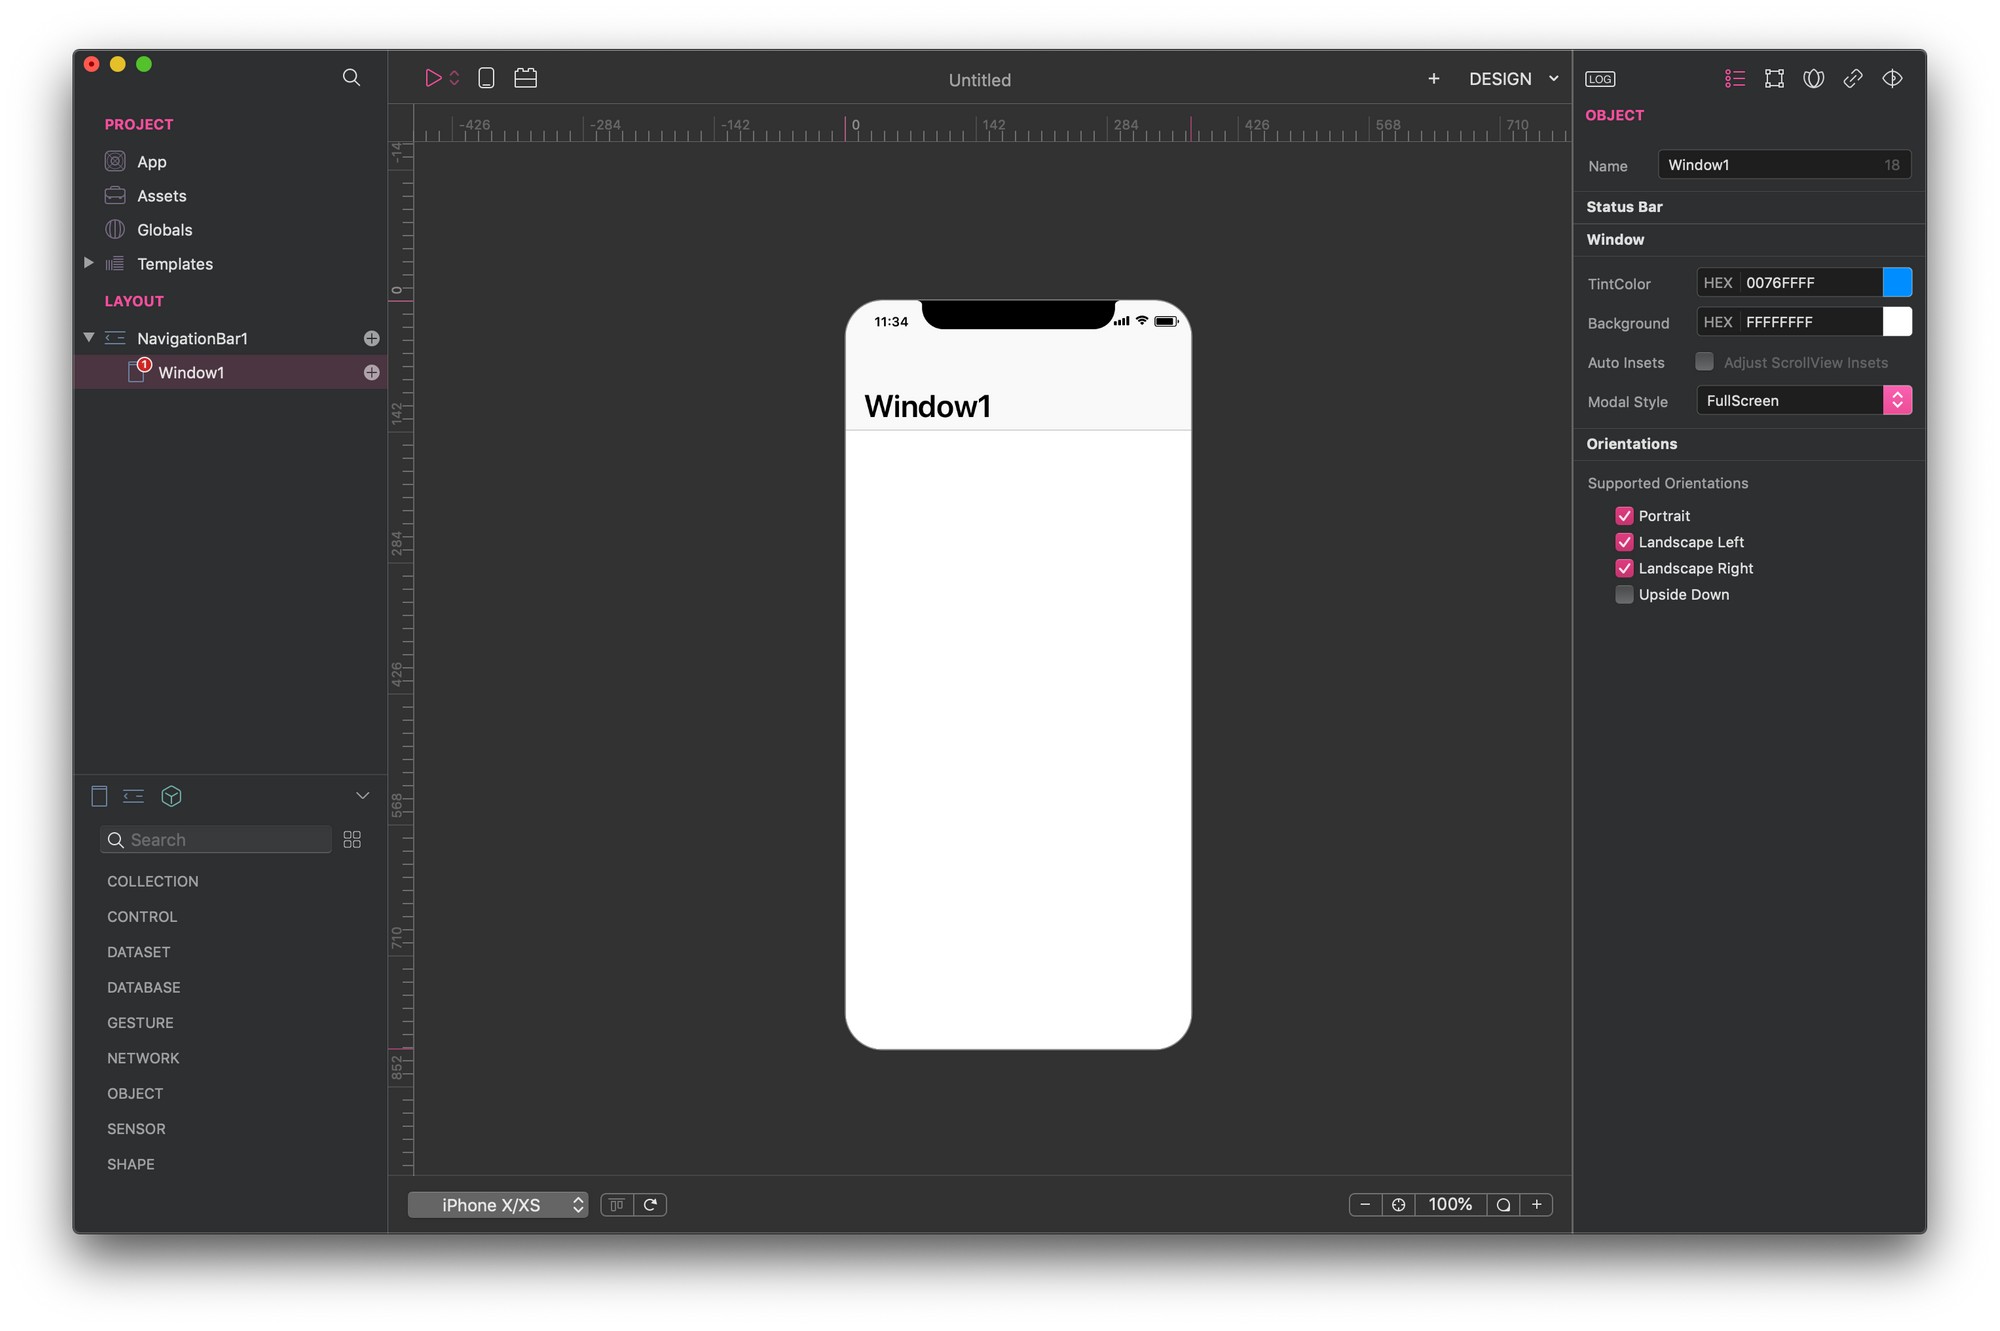
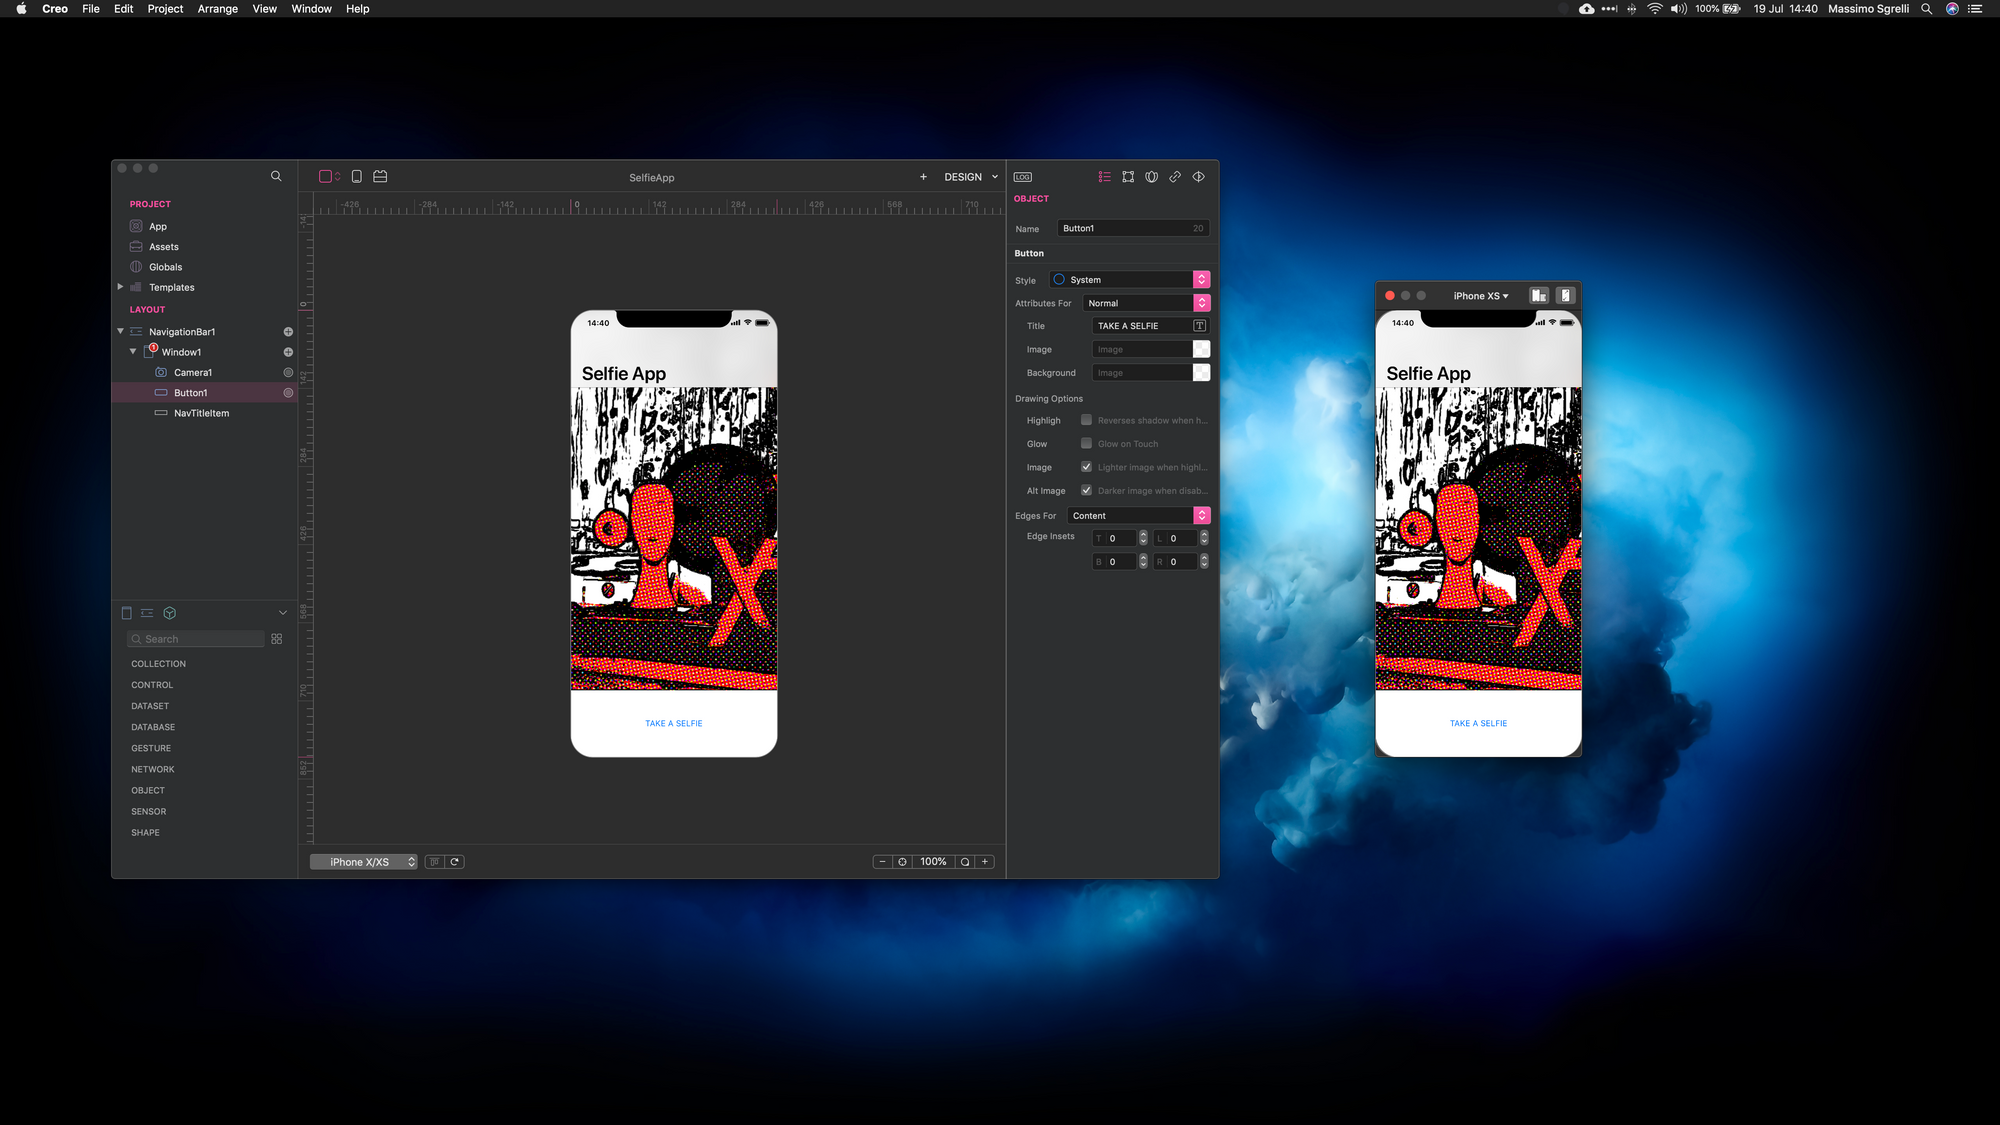
On the left-hand side, you have the project the Layout panel. It shows you the navigation hierarchy of your app: a Navigation container, and a Window container.
Interacting with the camera
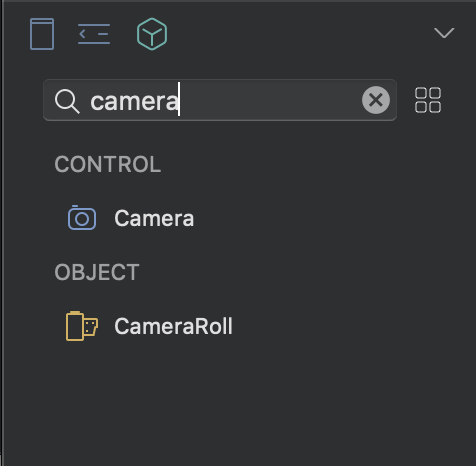
Creating a selfie app requires to interact with the device camera (iPhone or iPad). Creo makes this part very easy for us, providing a full features Camera control from the Controls List panel (the bottom-left panel). Search the Camera control:
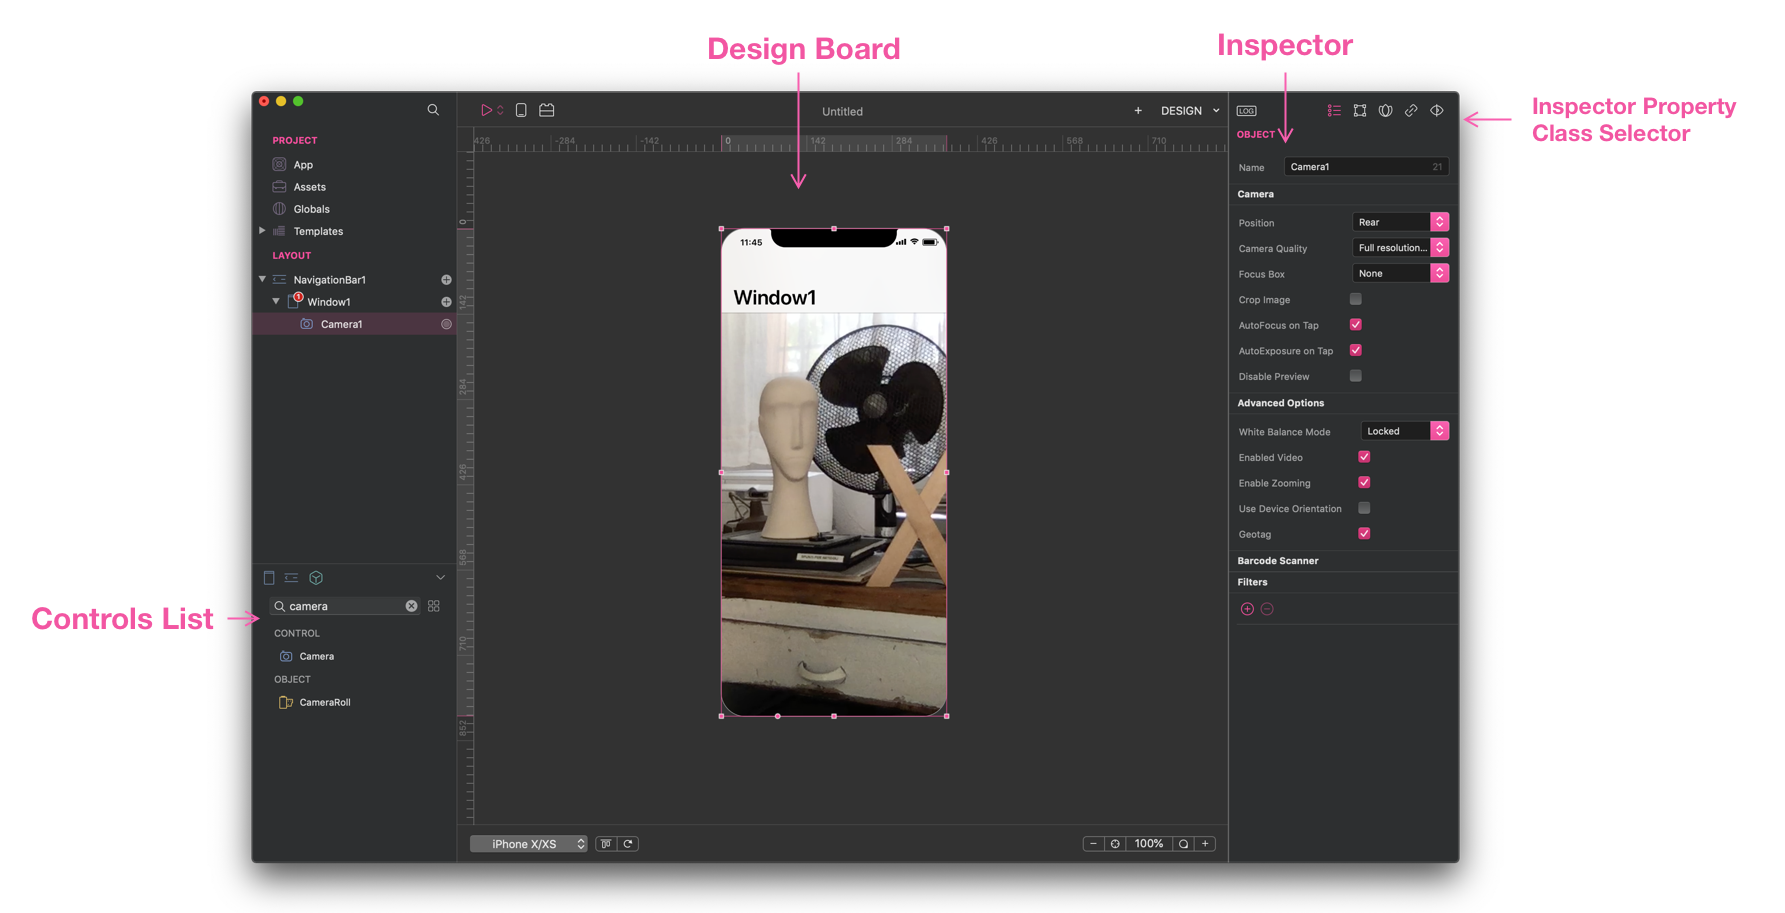
and drop it onto the Window1 control in the Layout panel:

If your Mac has an integrated camera, you'll get a preview of the camera output right on the screen.
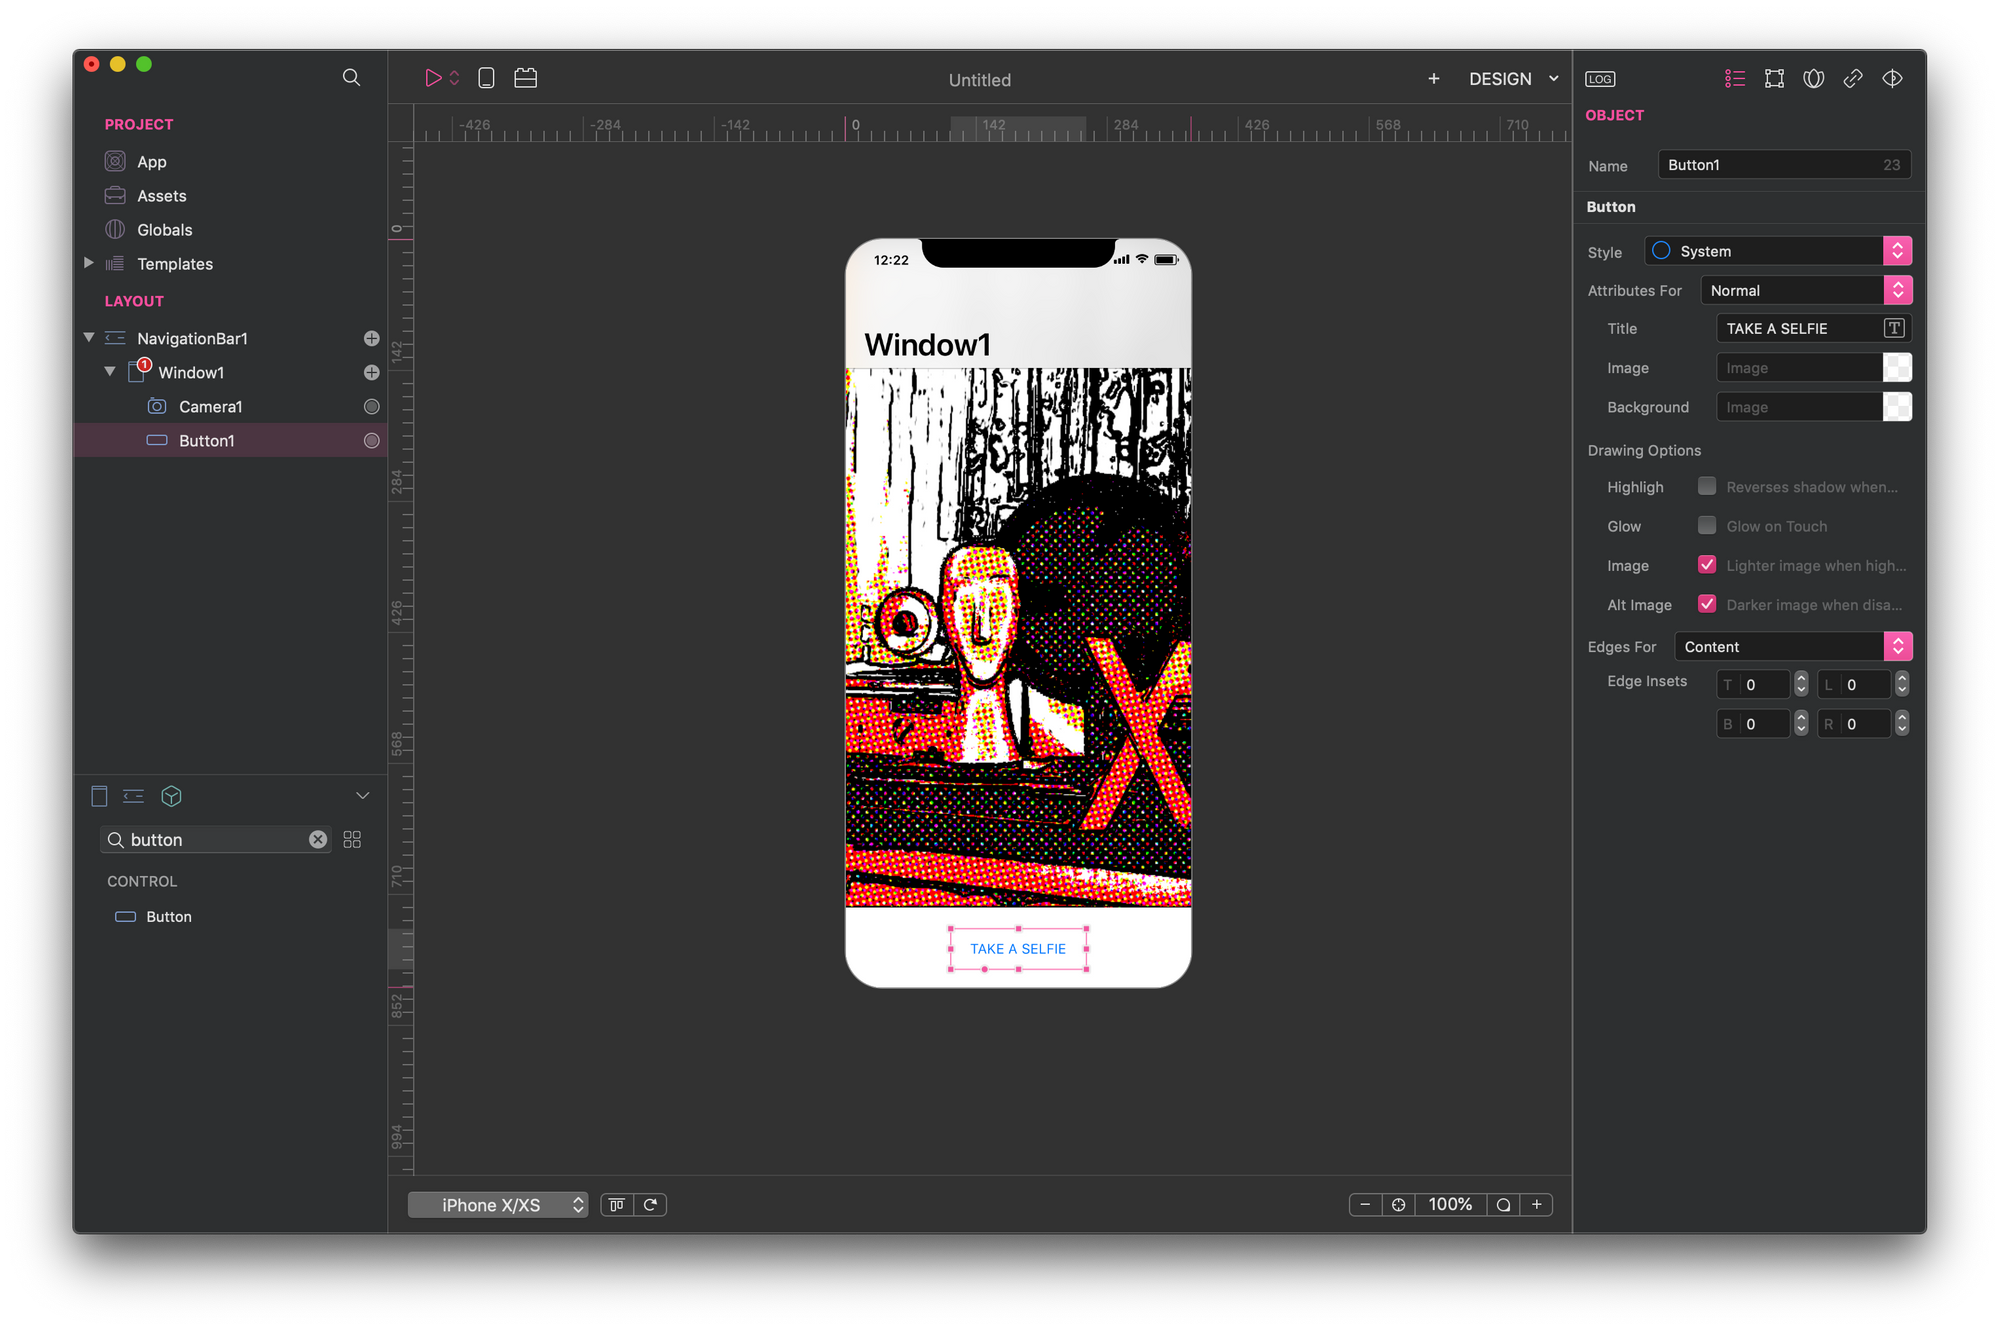
The Inspector
Every time you drag a UI control from the Controls List to the Design Board, you can view and edit its properties throughout the Inspector panel. The Inspector panel is the rightmost panel of Creo IDE. It provides access to different UI control property classes, like Object properties, and Geometry properties.
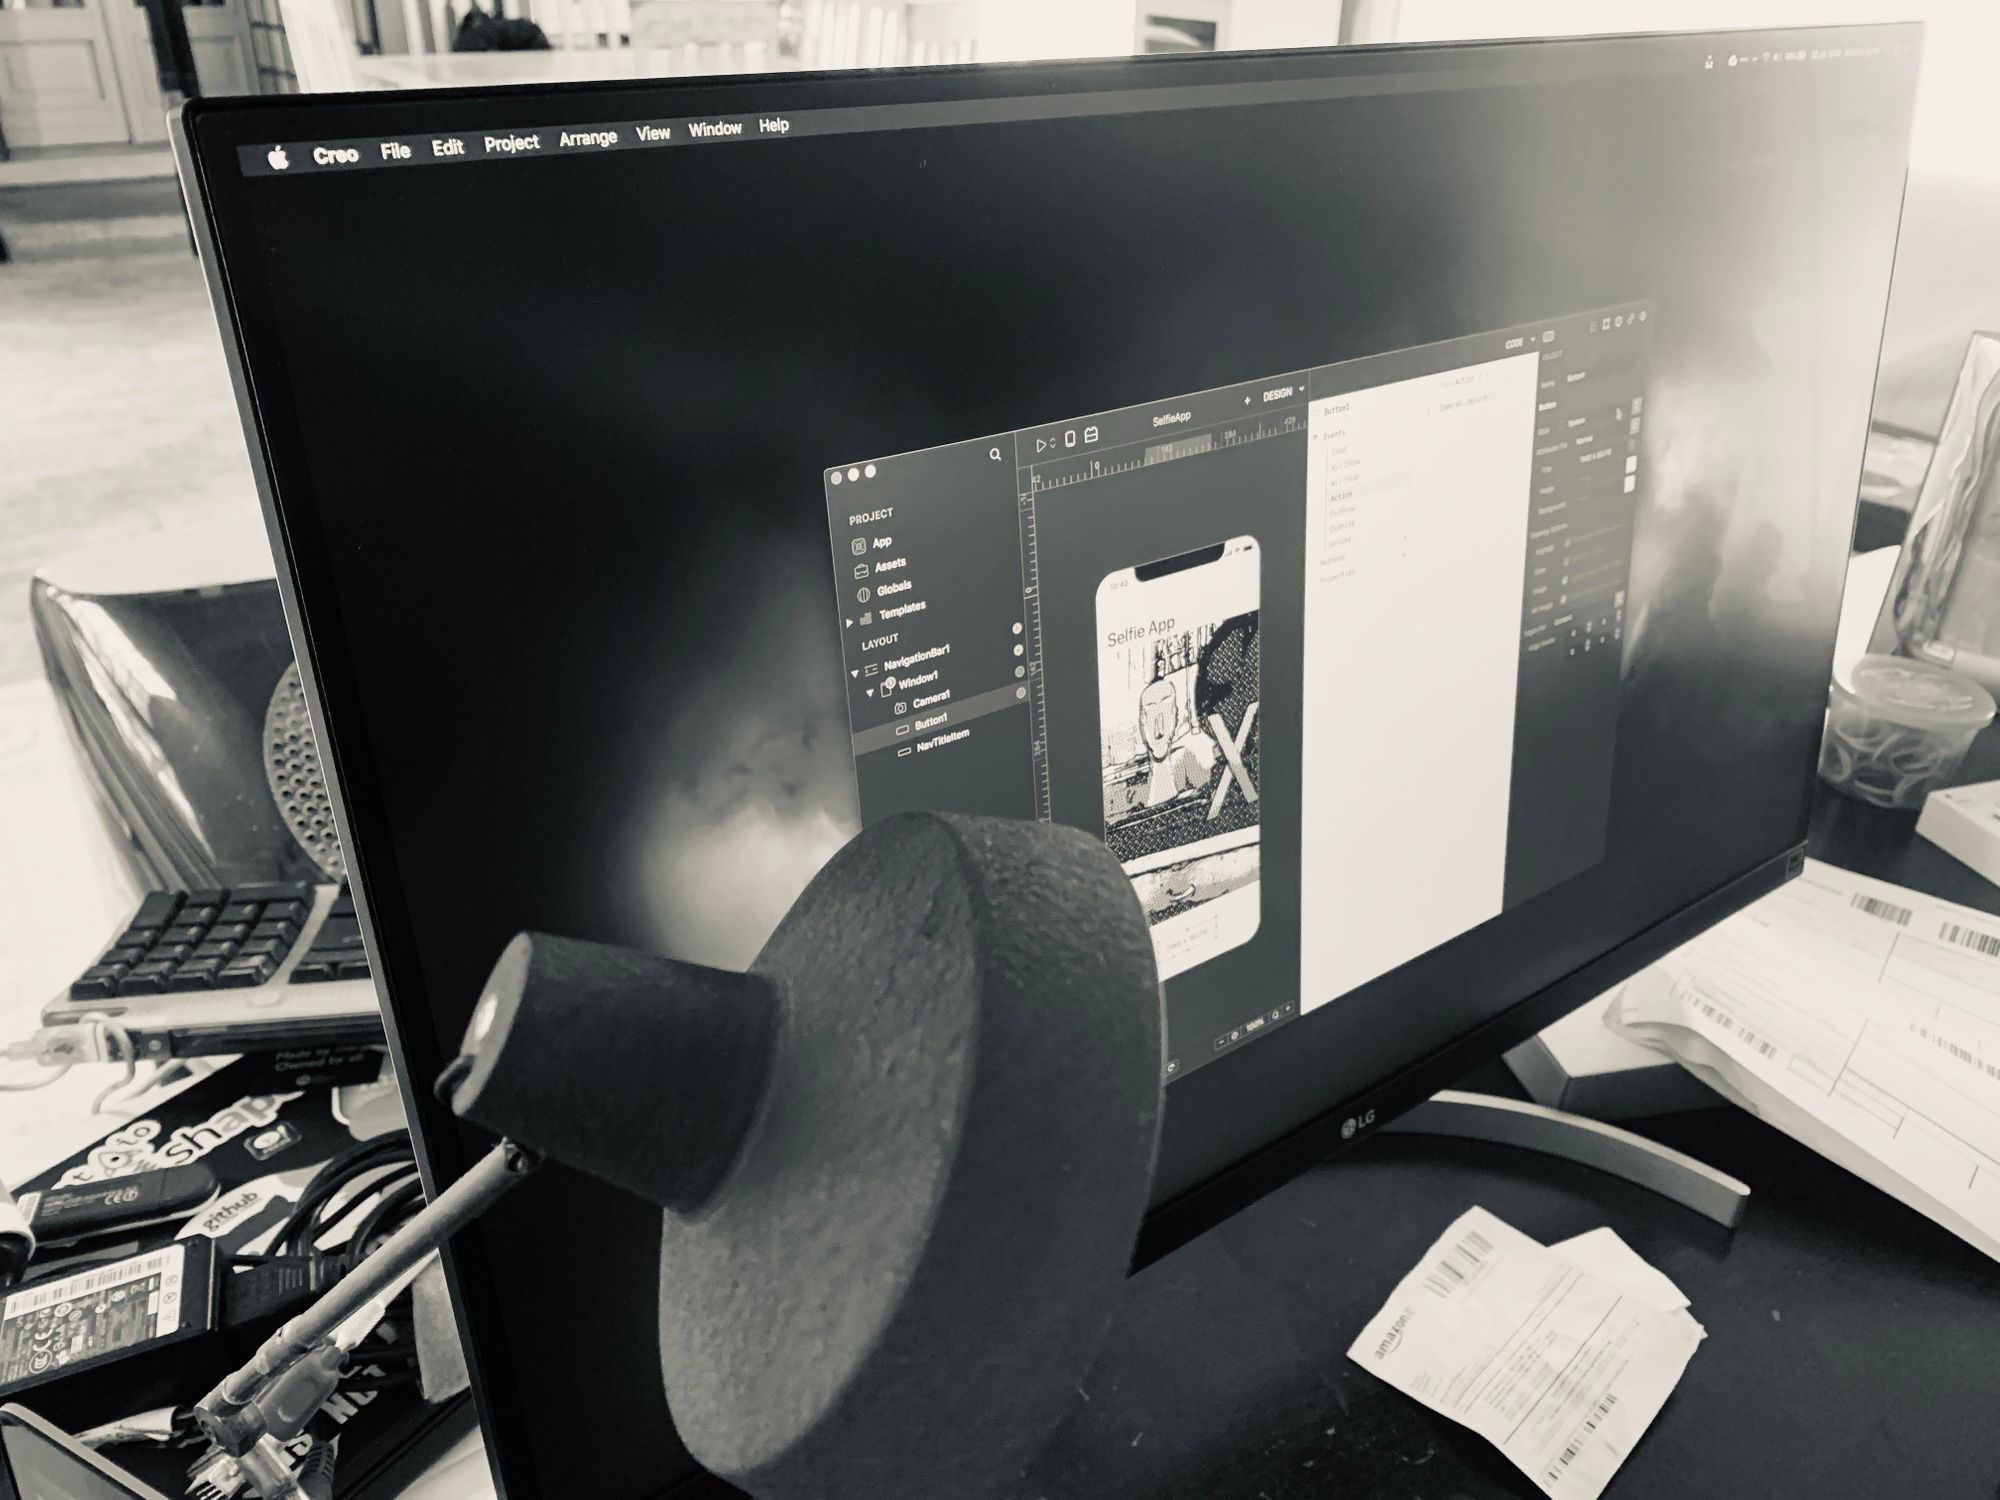
From the Camera object inspector on the right, choose the value Front for the Camera Position attribute (this setting does not have any effect on your macOS). Then, in the Filters section, press the + icon and select Stylize -> Comic Effect and press Save button. Immediately after saving the filter selection, the preview from your Camera object changes consistently.
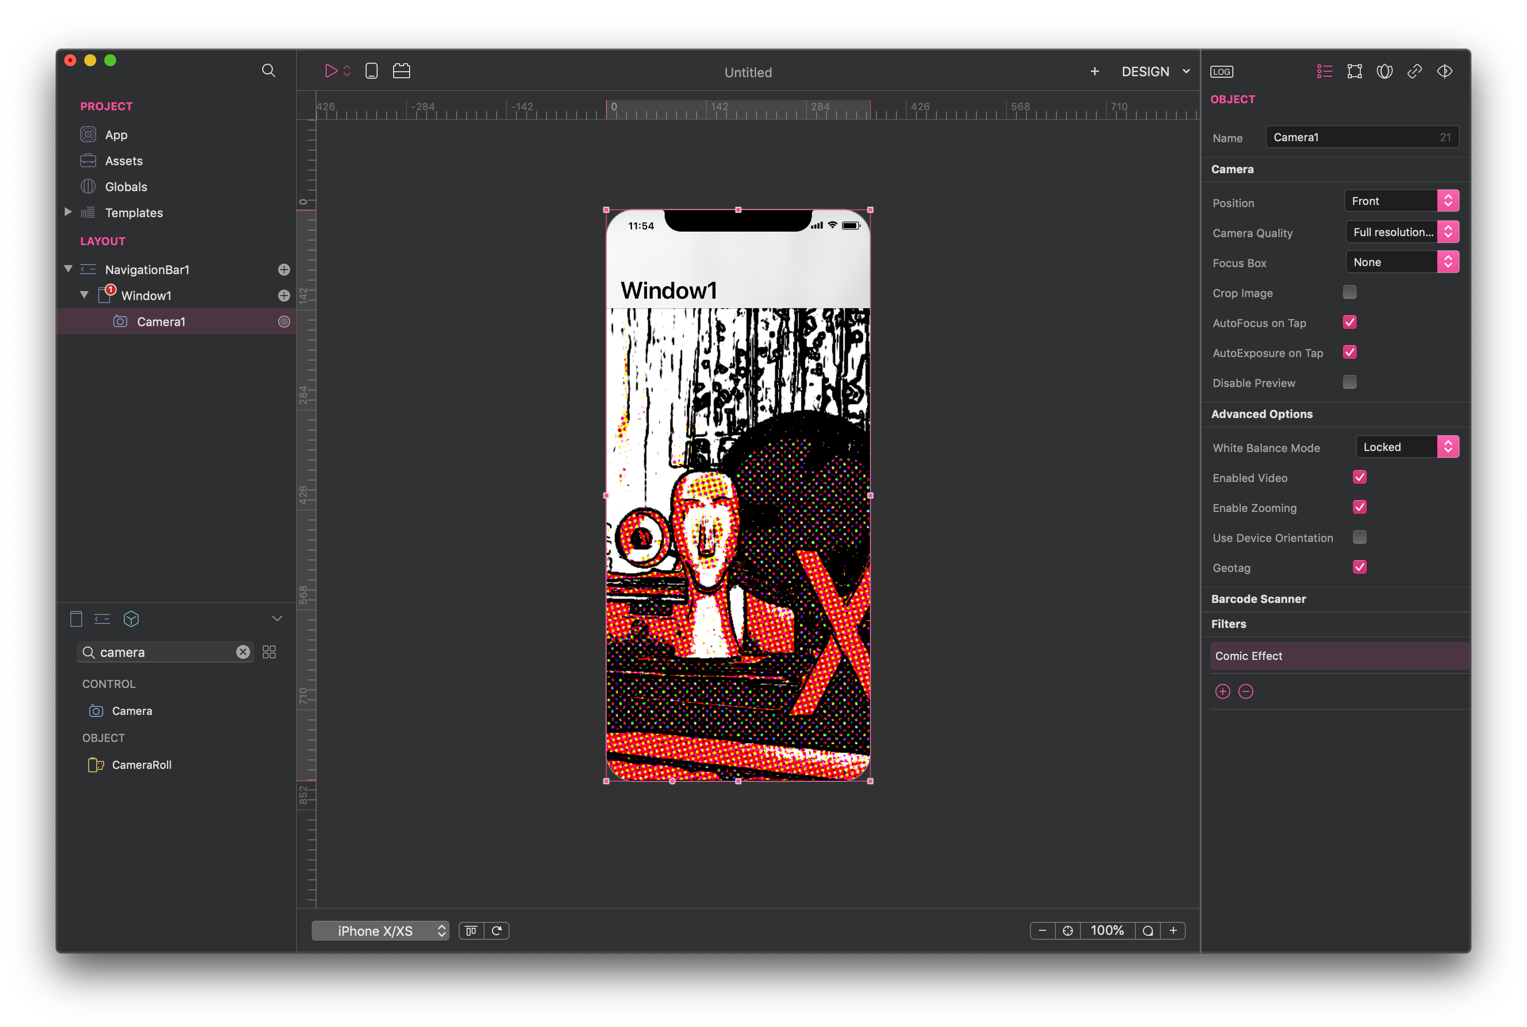
BTW, live camera preview is not something you can have with Apple iOS Simulator.
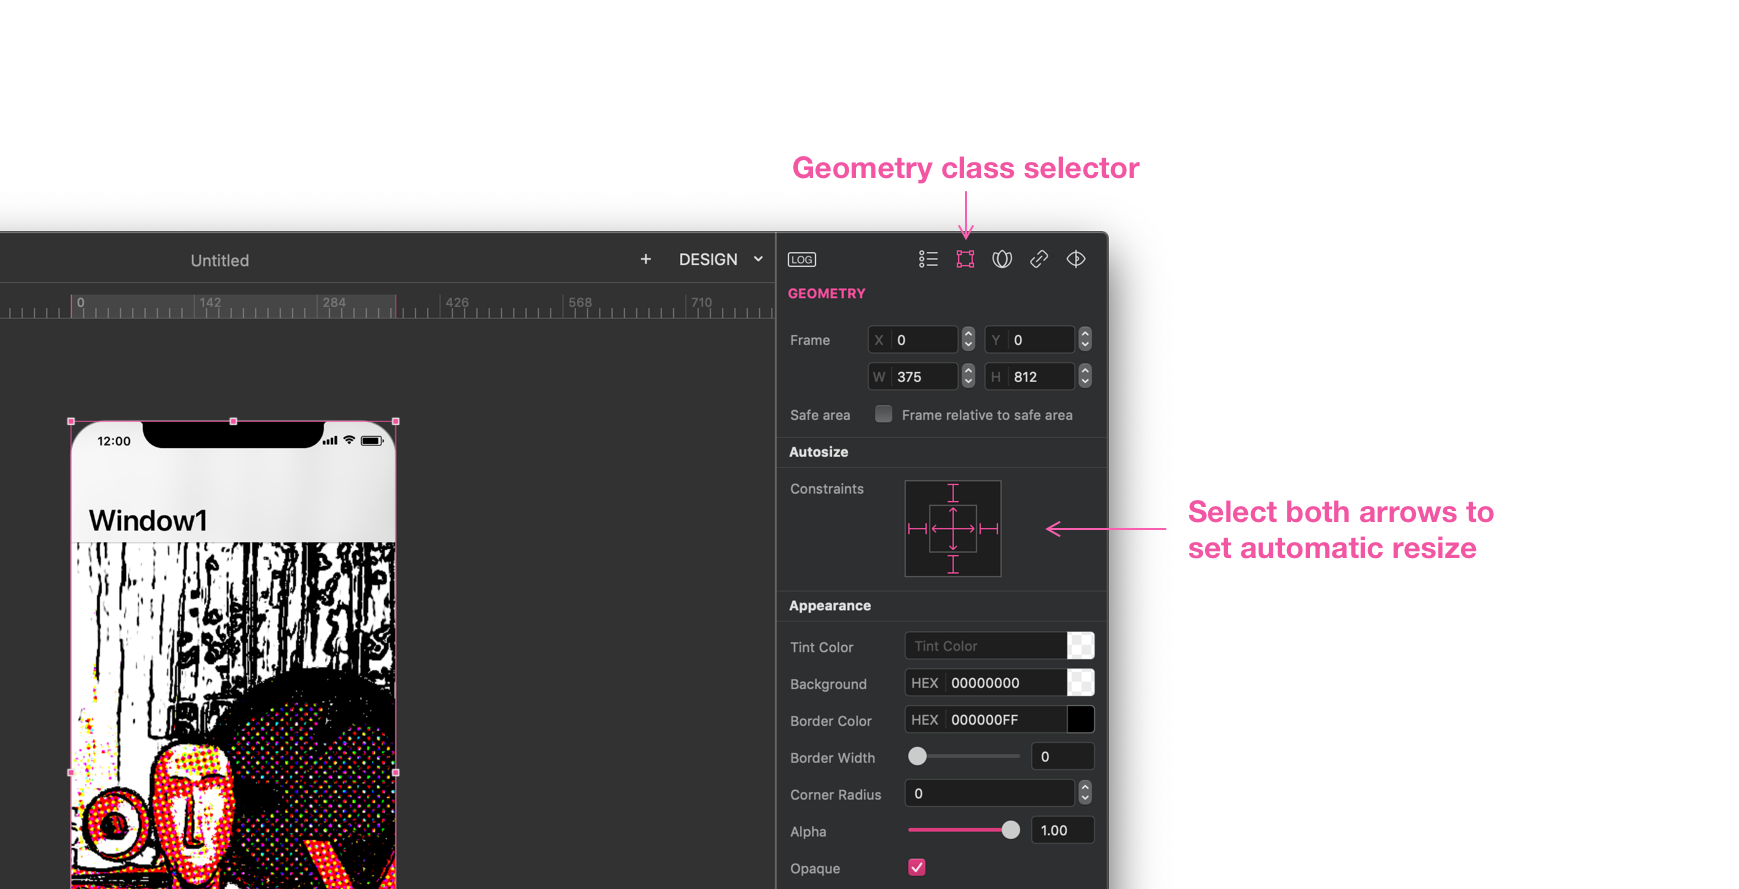
Now we need to say to the Camera control to automatically resize itself in any direction. Select the Geometry class selector in the Inspector panel and set its constraints accordingly:
Add the "Take a selfie" button
To take a selfie we need a Button control on the screen. First of all select the Camera1 control and resize its bottom in the Design Board:
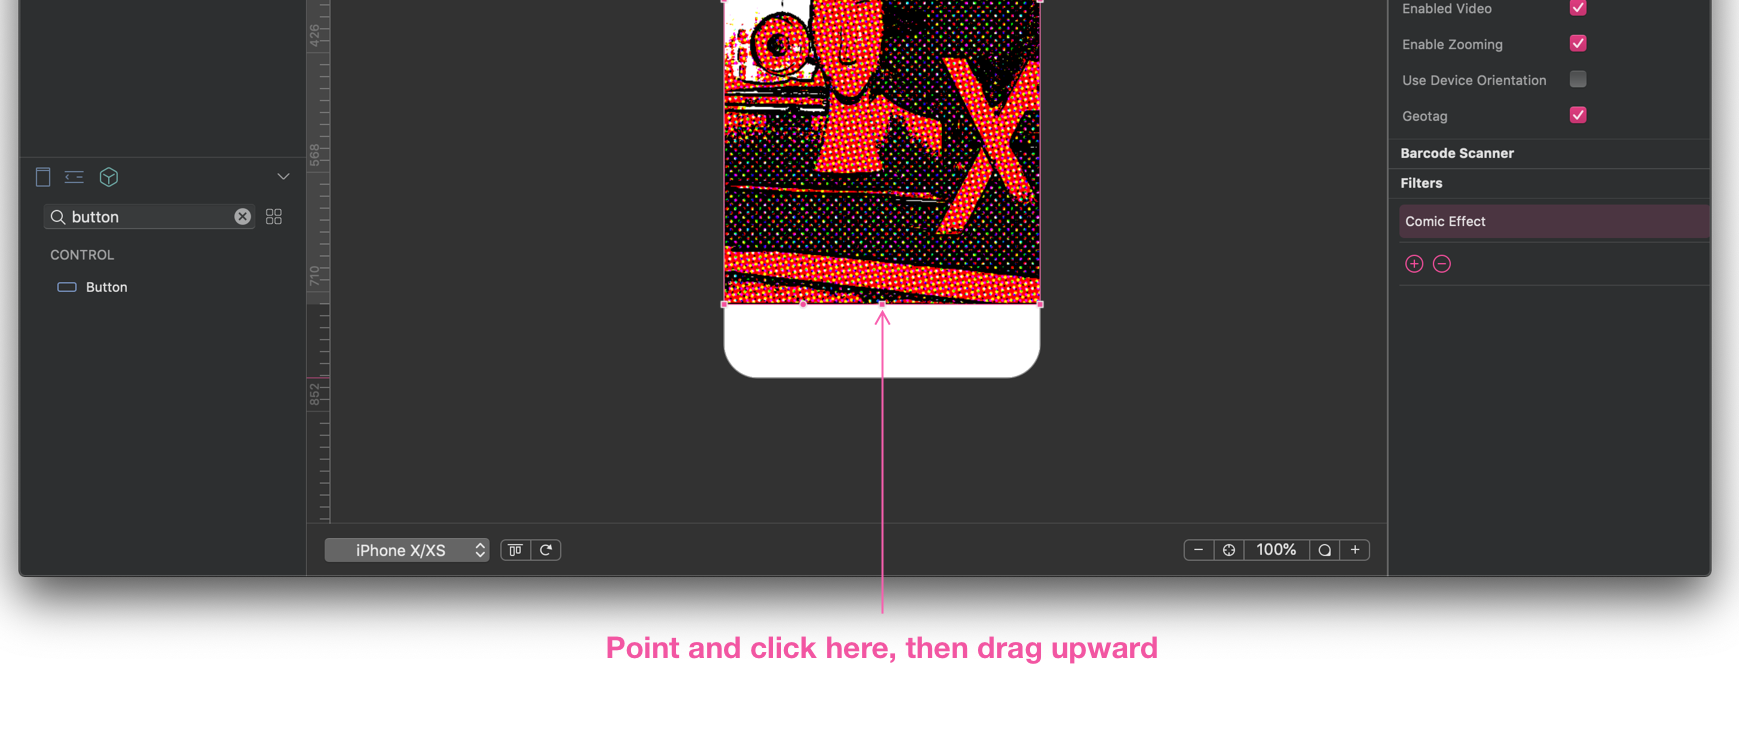
Then search the Button control from the Controls List and drag it into the Design Board. Then set the Button1 Title property to "Take a selfie" in the Object Inspector panel.
Code editor
It's time to write some code for this app. Until now, we worked on the DESIGN view (Design Board), but Creo provides 2 additional views named CODE (Code Editor) and LIVE (Live Code).
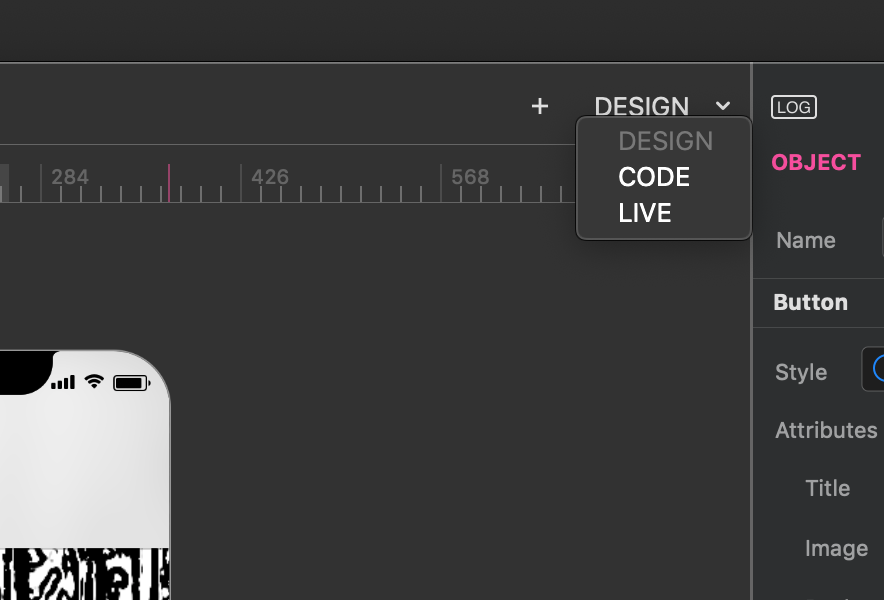
Selecting the CODE view, Creo allows us to get access to events, methods, and properties underneath the selected UI control on the DESIGN view. So let's select Button1 in the Design Board, and change to CODE view from the toolbar menu.
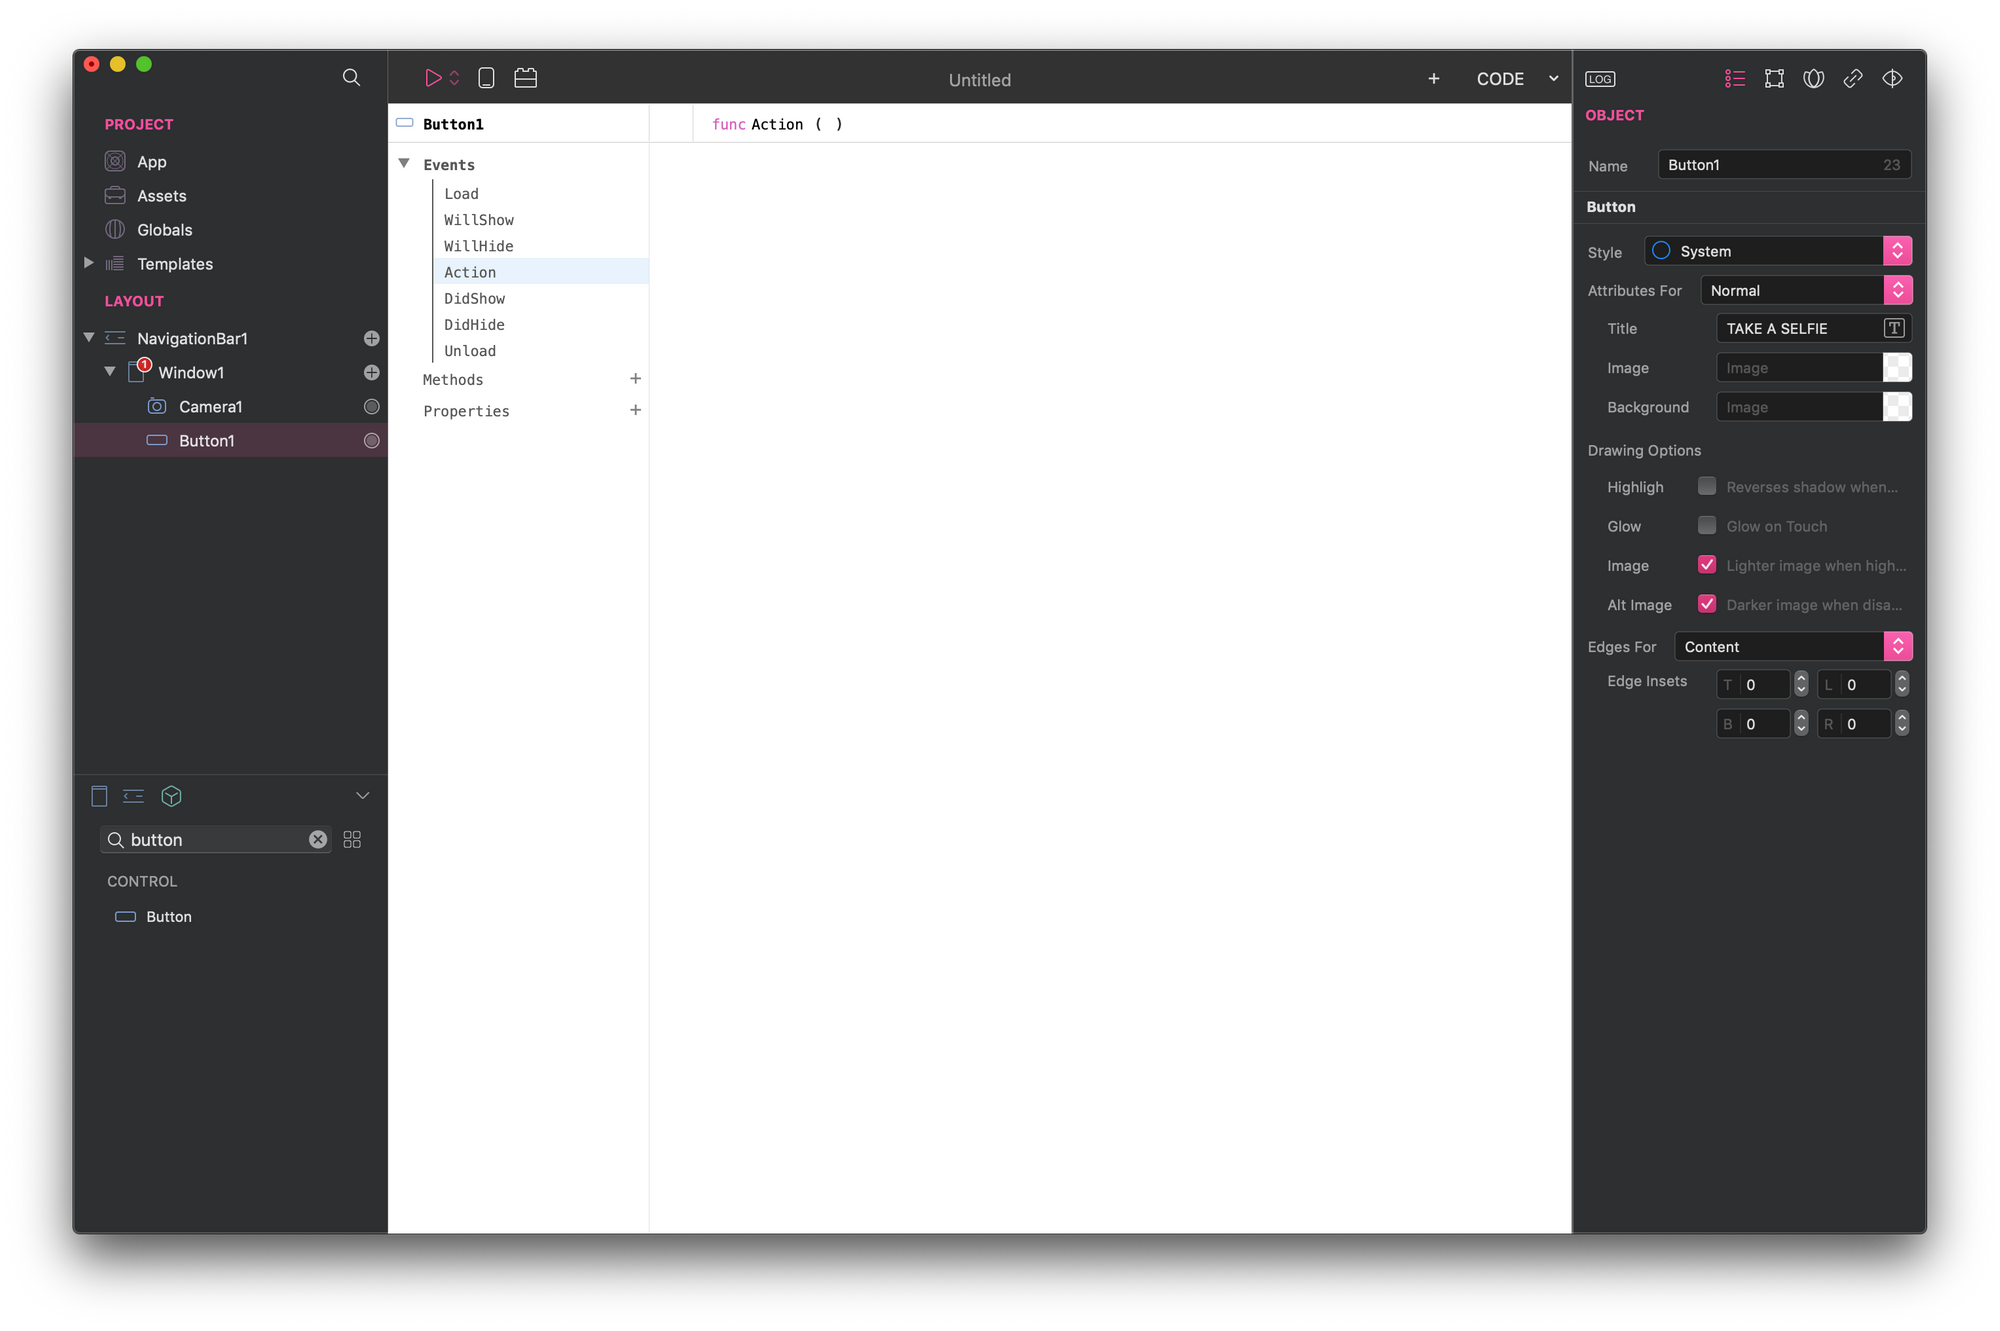
To take a picture when the user clicks Button1 control, we need to manage the "click" event—or the touch-up event in iOS—in Button1 control.
iOS development manages user interaction with the iPhone or iPad devices through events. Events are fired for multiple reasons. Every time the user interacts with the device screen—for example, touching it—or its sensors, the operating system fires one or more events. Events are a way to say that something happened, and the application has to be informed. UI controls listen to events fired by the OS and check if they need to do something.
If you take a look at the Button class documentation, you can find what events the Button control can manage. In our case, we are interested in the Action event:
This event is called when a touch is released (touch-up) inside the bounds of the button.
In the Button1 -> Action event handler write this Gravity code:
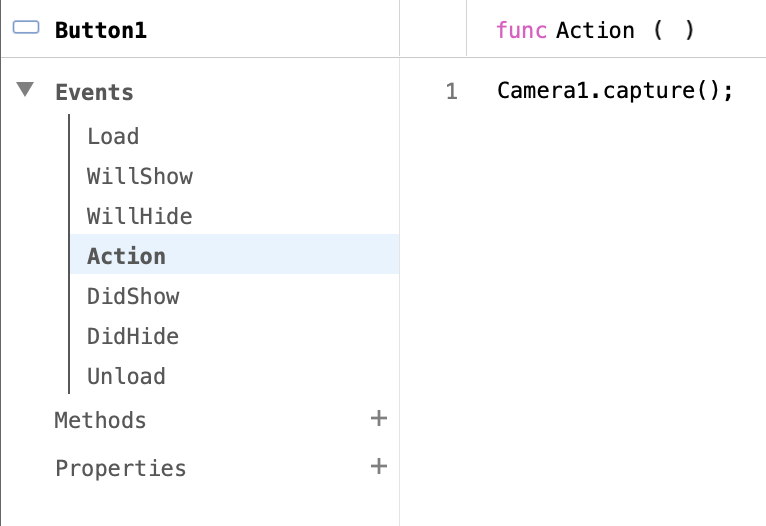
"capture" is a method of the Camera control that you use when you want to take a picture.
Saving picture to camera roll
Now the question is how to retrieve that picture once you captured an image with the camera UI control. A few paragraphs above, I talked about the event-driven system of iOS programming. When the capture method is called a new event is fired to tell the application that an image is available to the Camera control. Looking at Creo classes documentation, we find the event we need and it's called NewImage :
NewImage: This event is triggered when a new still picture is available.
Now we select Camera1 control from the Layout panel, and in the CODE Events view we can see the NewImage event handler. All we need to do is to save the captured image to the device camera roll. That's a trivial task with Creo because it provides a class called CameraRoll, which has a method called saveImage.
So, let's write one single line of code in the Camera1 NewImage event, like this:

NewImage event is called with 2 parameters, which we need to pass directly to the saveImage function.
Changing app title
It's now time to change the default Window1 object title to something more appropriate. To make that happen, we need to click on the "+" icon aside the Window1 control in the Layout panel and select Title item from the context menu. In this way, NavTitleItem control is added to the application hierarchy. Click on it and let's change value of the Title property from the Inspector to "Selfie App."
Running the app in Creo simulator
Good! Our Selfie App is now ready to go. Save the project to disk through the File -> Save as command, and push the Run button to execute our app in the Built-In Creo Simulator.
Now click on the Shot button to take a selfie. Our application takes a picture and saves it to your Mac Picture folder.

If you want to play with this project you can download it here.
Do you have any questions? Comment below and I'll answer as soon as I can.
Ready to move your next step? Read the next article of this series here.