Using Creo to make something people want: learning custom views
Starting with this article, I'm going to create a beautiful app with Creo putting together what I learned until now and adding some more cool things like creating a Custom View Template and using the File Manager to store your photos.

Starting with this article, I'm going to create a beautiful app putting together what I learned since now and adding some more cool things like creating a Custom View Template and using the File Manager to store your photos. This time we are going through the whole process: app design, code—the minimum necessary—, and finally publishing to the App Store. We are going to use all the skills we learned building the SelfieApp in a previous post.
How can I do something people want?
This time I don't just want to create an app to take pictures, but something that people wish to use every day. With tons of photo apps on the store, I want to invent something new that I love to use every day. I'm trying to put together two abilities that I have:
- I'm an entrepreneur, and I've been creating tech companies in the last 18 years. One thing that I learned during the process, I got it from Paul Graham—founder of YCombinator, the best startup accelerator in Silicon Valley. He keeps saying, do something people want. Now, to know what other people want, I'm going to start with something more straightforward: what do I would like to get from a photo application?
- I'm a coder, and I believe that the best way to prove my idea is to build it—as fast as possible—and use it every day. After the first test on myself, I can release it to others and see if they like it as I do. But I'm pretty sure that, if I don't need what I create, well, probably nobody will.
What I want from this app
The app I want to build to take pictures need to have some characteristics:
- It has to have a great design
- It has to be simple
- It has to make all the photos look beautiful, no matter what.
Remember those three requirements, because we'll be back to them later.
Creo is the best tool on the market to prove your ideas. In a few hours, you can create a first version of the app. You can deploy it to your iPhone, and use it right away thanks to CreoPlayer. CreoPlayer is a runtime available on the Creolabs site I can use it to run my app on the target device without publishing the app itself to the TestFlight or the App Store. When you are working on something, you need to tweak it a lot before you can use it with no hassles. CreoPlayer is a beautiful piece of technology that makes just that.
Before we go any further, I want to be sure you have everything set up on your Mac and iPhone. So, if you didn't do it yet, download Creo on your Mac and CreoPlayer on your iPhone. Be sure you have always the last version of Creolabs software, otherwise we won't be able to learn together.
The app design
To build an app with Creo, I don't have to learn other things to get the job done. That's something incredible if you think about it. No Sketch, no Figma, no Photoshop. No images to cut and import in your developer tool. Designers could use it to bring you directly the first mockup of the application, and you connect the dots—adding some code behind. Without any further ado, let's get into the design phase.
App requirement: It has to be with a great design
I love dark themes, and that is something I want to put in my app as well. Also, my pictures will look great on a black background.
With Creo, we can use the Navigation Bar UI control to manage the app navigation in seconds, but this time, I want to go deeper and have all the freedom I need for my app. I'm going to use a CustomView Template instead.
Now let's open a New Project from Creo, and do some design. The first thing I do is deleting the standard structure Creo created for me—Navigation Bar and Window inside it. Now I add a new Window and set it as "Startup Window"—opening the Window context menu.
In the Project panel on the left-hand side of the IDE, let's open the Templates Panel. That is where we are placing the CustomView for the navigation bar.
Creating a custom navigation bar
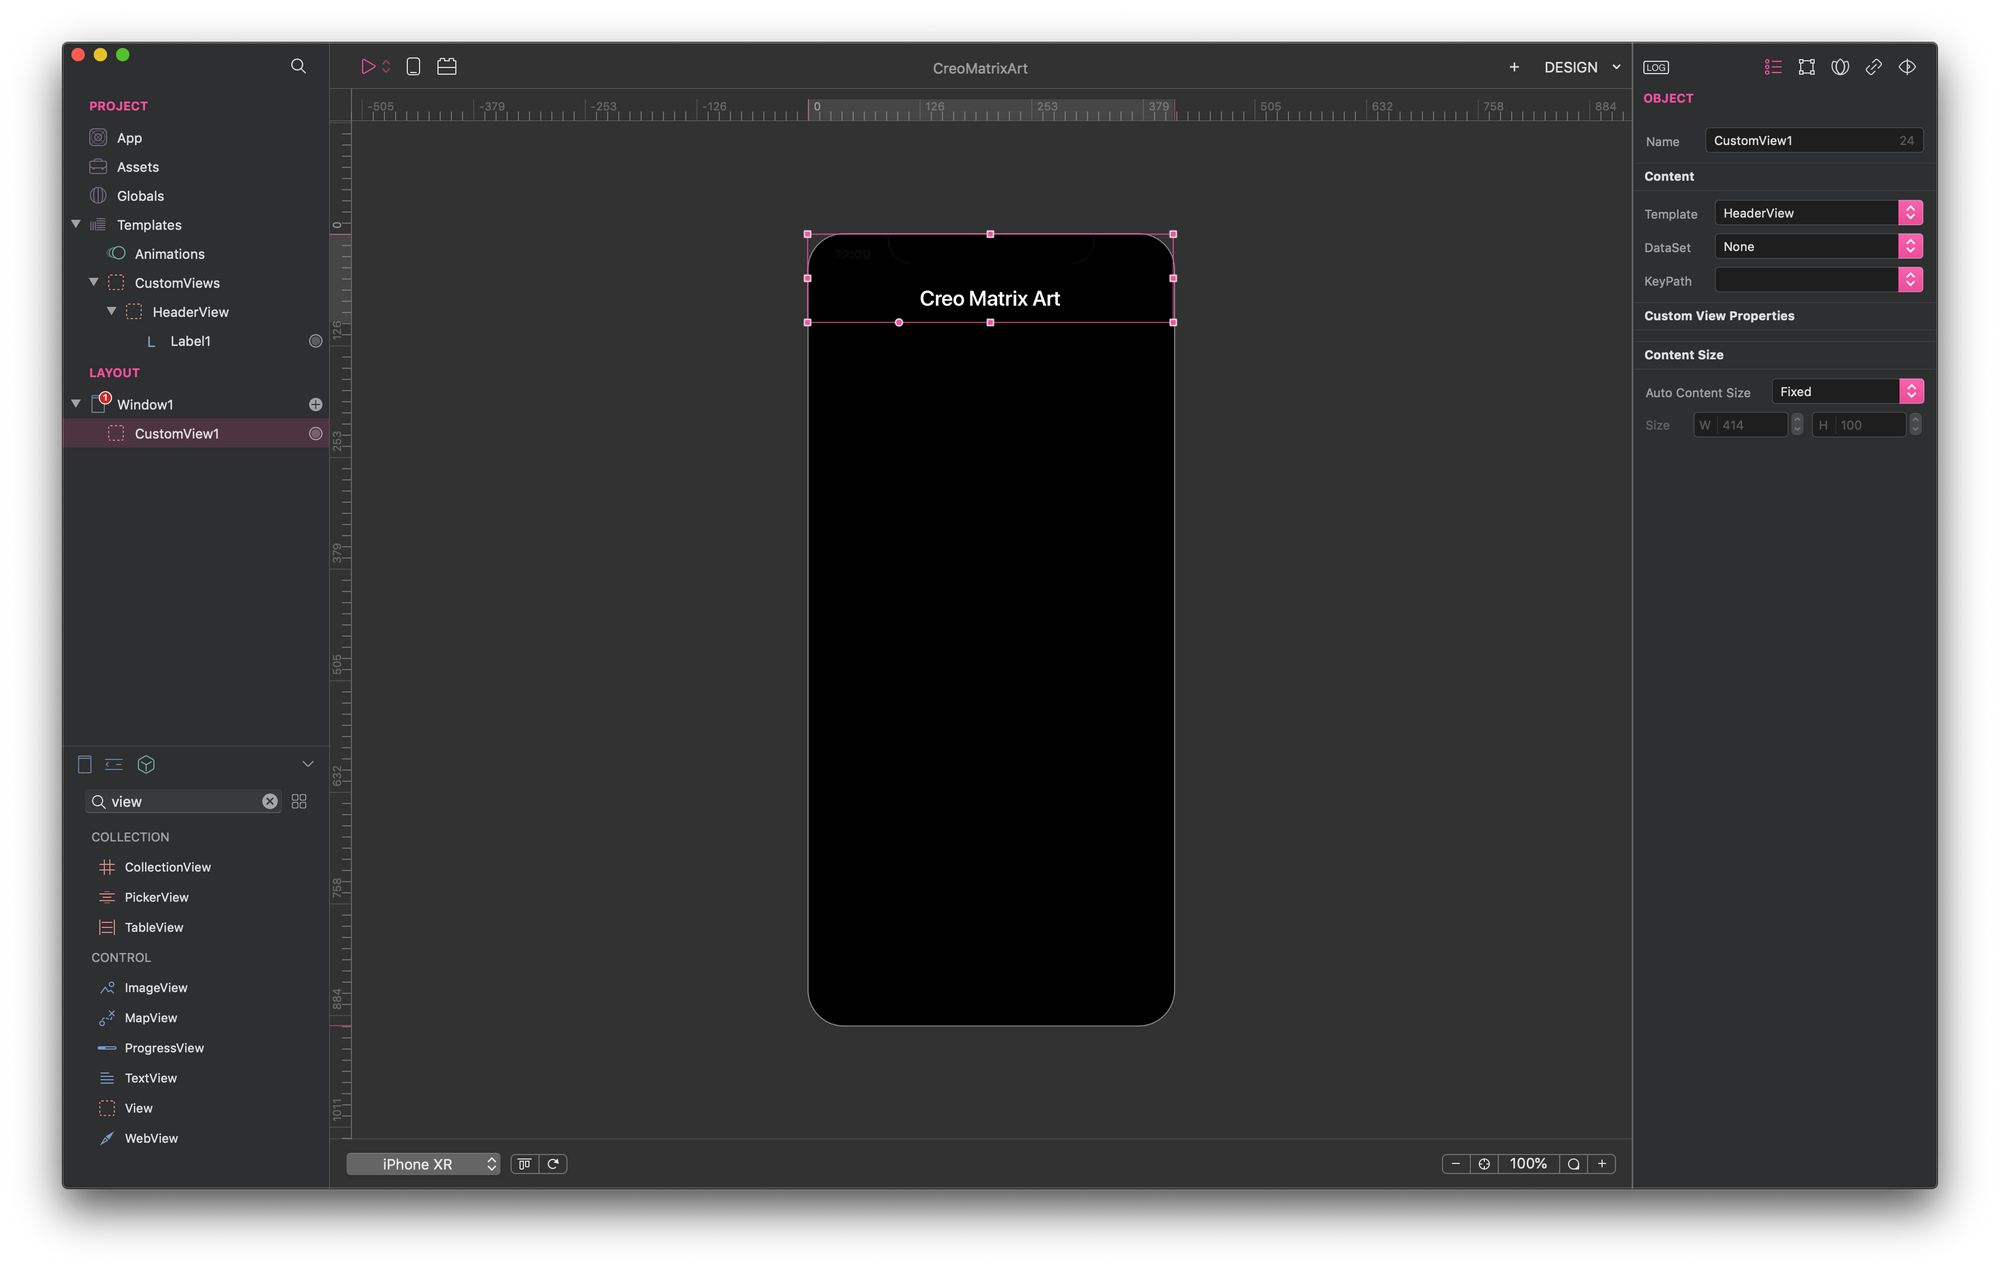
To create the custom navigation bar we can reuse on many windows, we need to create a CustomView Template. Once we have it done, we drop it onto the window we are designing. Every change we make on the template instance will be shown on the Windows that are using it. To create a custom view template, I drop a View UI control on the CustomView folder in the Project Template panel. I set its frame width and height to 414x100 pixels.

Note that, those are temporary settings because the real dimensions are assigned after dropping this View on a Window instance.
For simplicity, I name this custom view HeaderView, so it'll be easier referring to it in the future. Because of I want to use the HeaderView as a basic view for the navigation bar on every Window instance, I place on it only those UI controls I want to share in every Window: the title in my case. I drop a Label UI control in the HeaderView— HeaderView1 —and set its Title property to "Creo Camera".
Now I change the app title label font—24px, centered, bold and white—and constraints properties from the Inspector. We are finally ready to drop the HeaderView1 custom view onto Window1.
One thing you must be careful about is that when you place a CustomView on a Window instance, Creo sets its AutoContentSize property to Manual—take a look at CustomView1 inside Window1. You won't notice any difference until you change the target device in the project file—for example from iPhone XR to XS model.
Previously I said that I want to have a black layout. I'm keeping the HeaderView background transparent, and setting the Window1 background color to black:
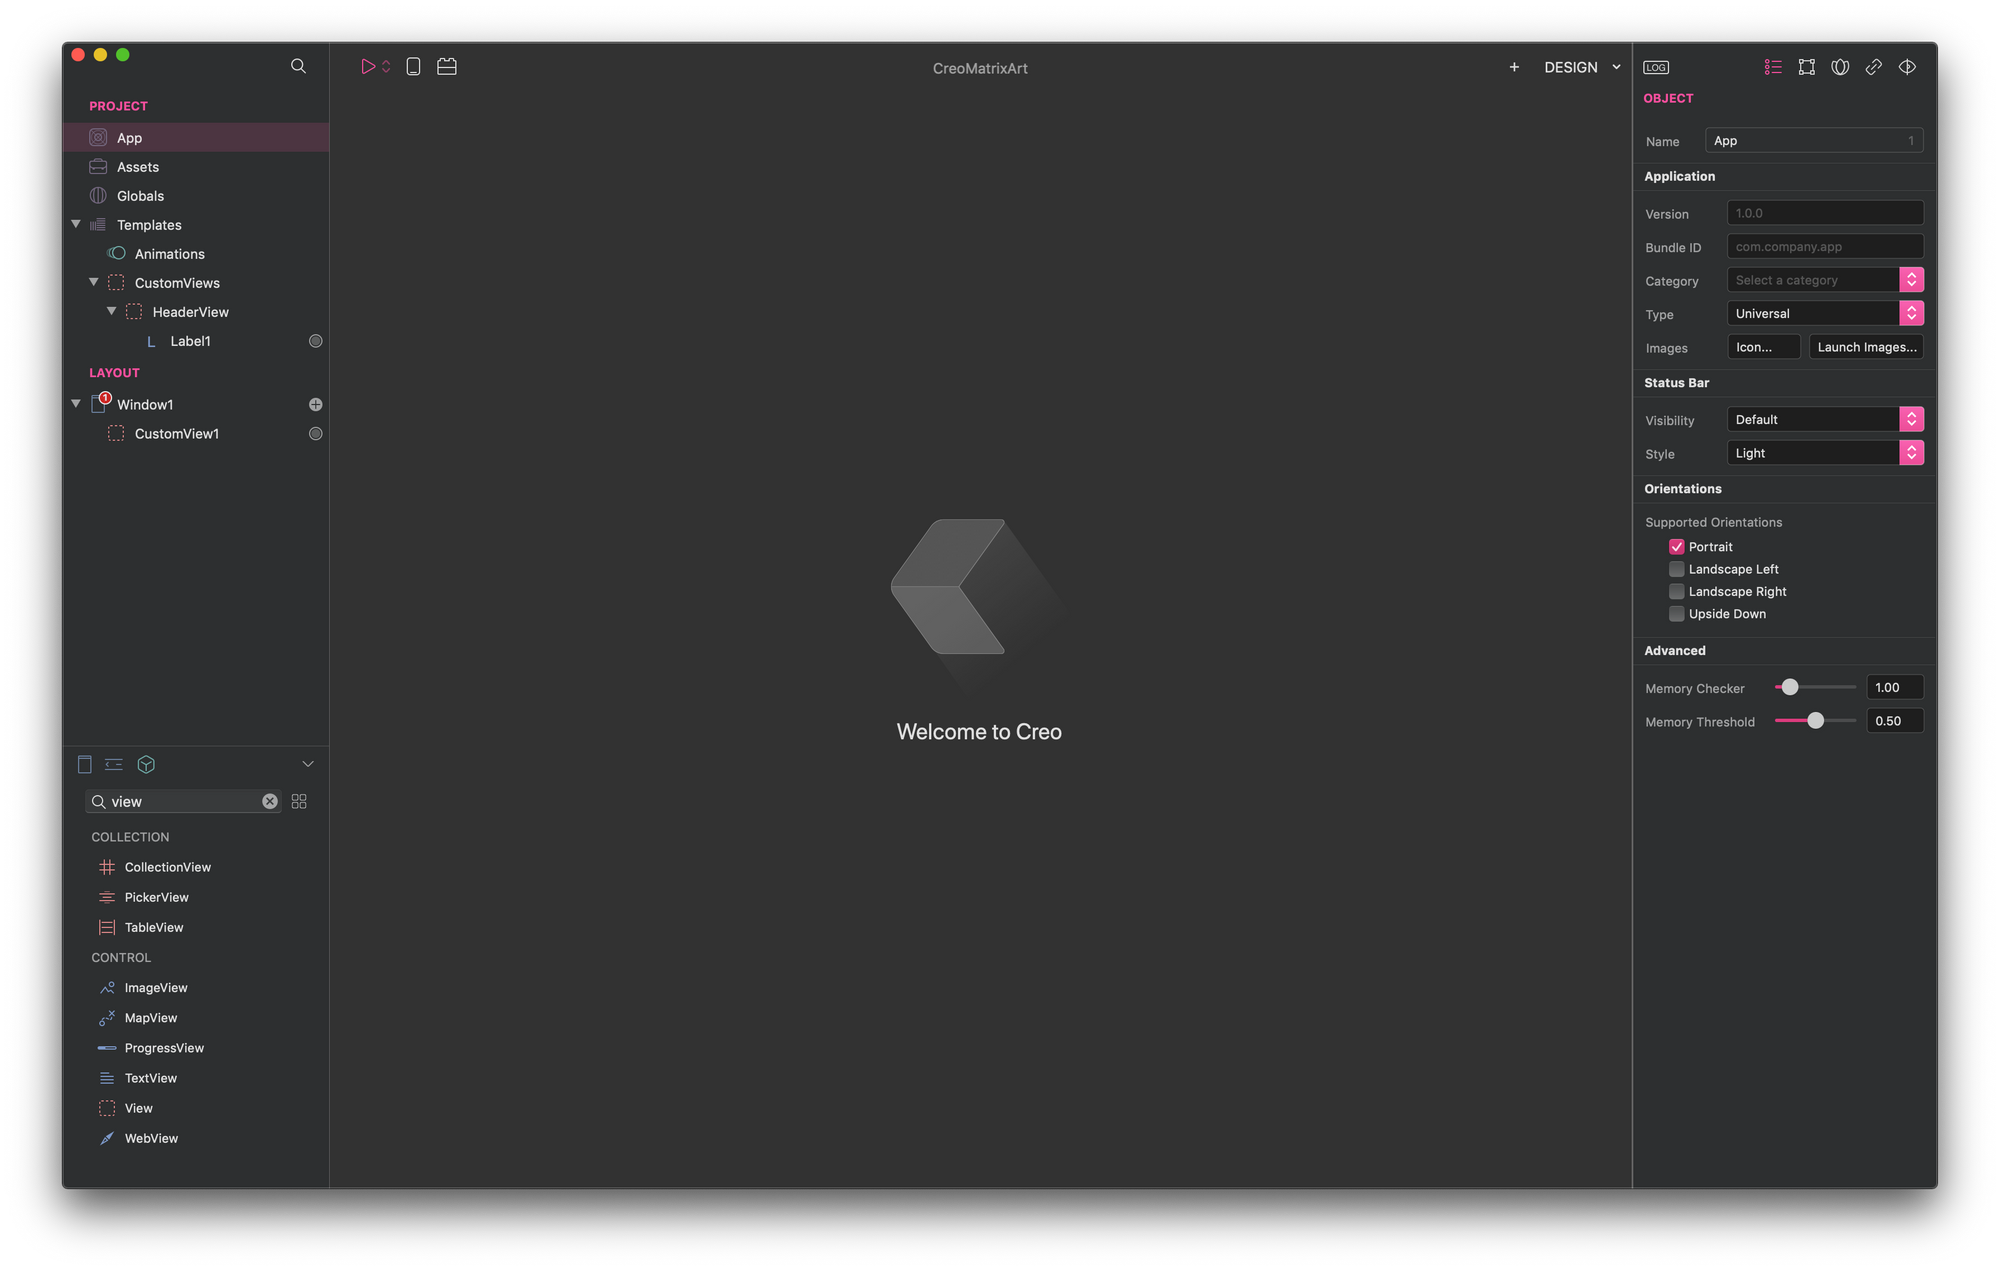
This app is going to be created for Portrait use only, and because of Window background color is set to black, I need to force the app Status Bar Style to "Light"—otherwise the status bar won't be visible on the device:
The advantage of having a custom HeaderView is that I can design my app header how I want. In my home window, I'm going to show the pictures I take with this app, so one of the things I need to position on CustomView1 is a UI control to take pictures. When I need to personalize a Window's CustomView instance— CustomView1 for Window1 in our case—, I just drop other controls onto it. This time, instead of using Creo's icon standard library, I'm using Feather Icons. I download a few icons— the camera icon and a few others—from that icons site, and because they are in SVG file format, I use the Mac Preview to export them as PNGs. Creo does not manage SVG files directly in this case.
The UI control I'm using to open the "take a picture" window is an ImageView. You may wonder why not using a Button directly for this. It turns out that if I use a Button UI control, the picture I put on it must be of the right size for the device screen—it can't be enlarged stretching the Button itself. In my case, I want to be able to change the control width and height to get a pleasant layout.
That said, I drop an ImageView UI control onto Window1, and then I drop the camera.png file onto the Image property in the ImageView1 Inspector. Then change the Rendering property to "Tinted" and the Tint Color property to gray— HEX 949494FF. To make an ImageView instance sensible to touch events, I need to check the Interaction Events property.
There's a lot more to do, but for today I think it's enough.
Stay tuned! In a few days, I'm going to publish the second part of this post. But before closing this article, let's just test this camera "button", adding an alert to its TouchesBegin event and run the Simulator:
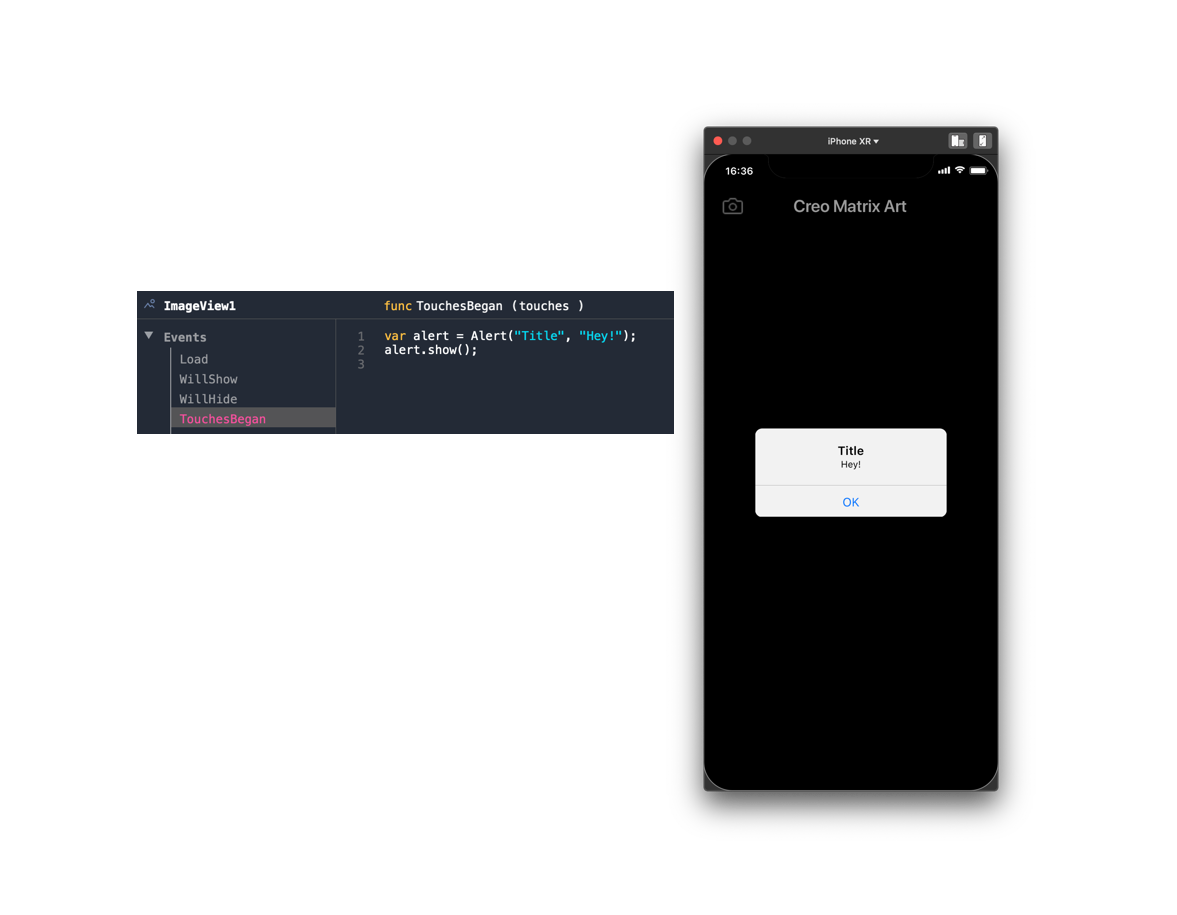
We got it. Next time I'll be taking pictures and save them on the iPhone File System using the File Manager object and a DataSet.
Why not Camera Roll? Stay tuned to find out.
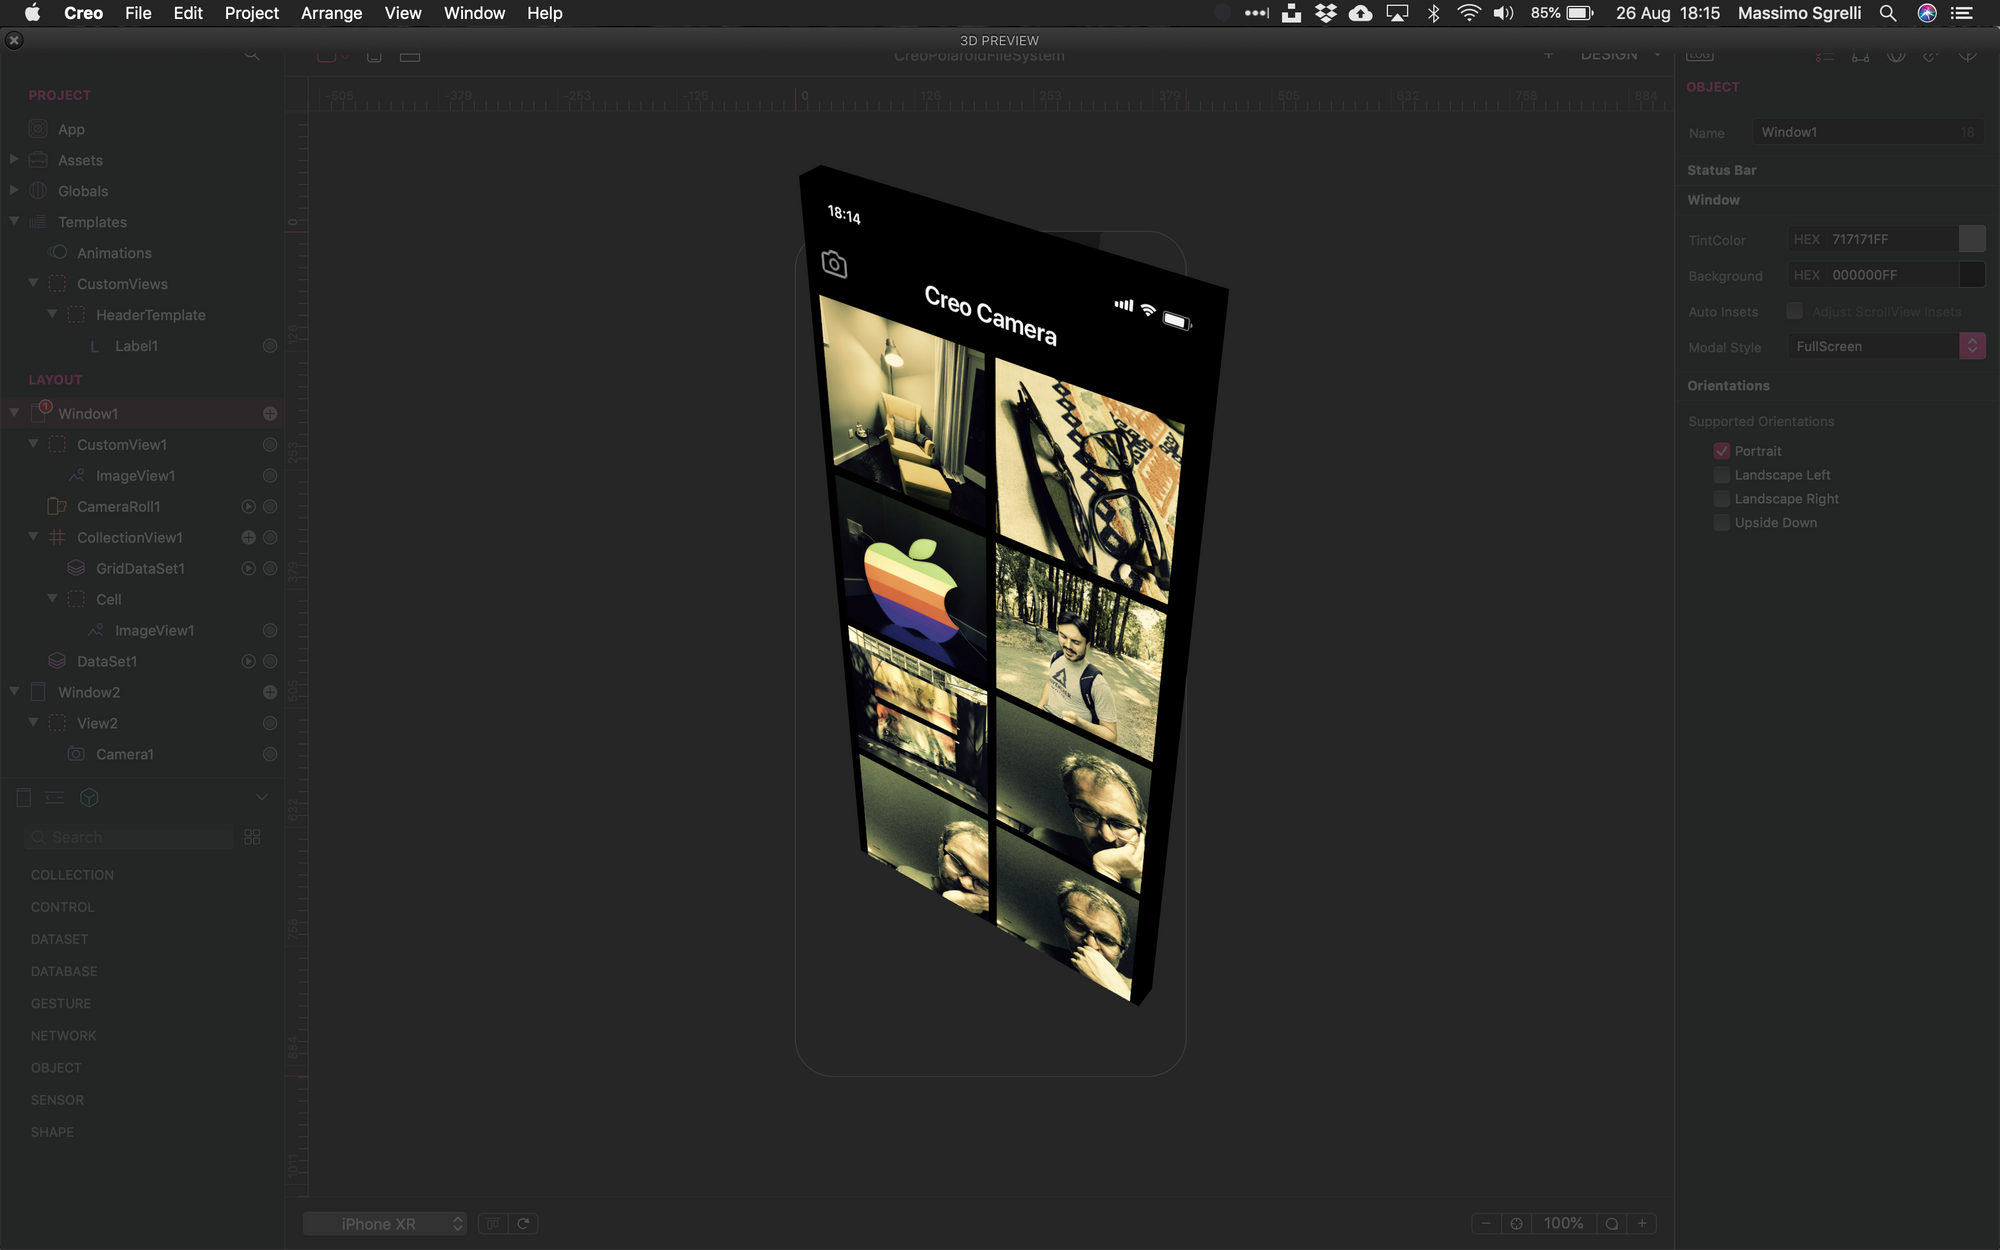
PS: In case you're asking yourself how we got a 3D picture of the application at the top of in this article, that's because Creo does that for you with a click :)
Go to the menu View -> Enter 3D preview.
You can download The Creo Camera project file from here.